Adobe Photoshop Tutorial
Learn how to create a plastic menu buttons for a website.
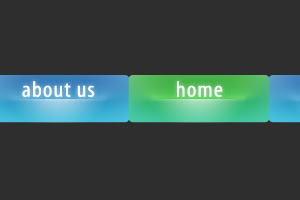
Let’s start with creating a new document, with 300px by 200px with a #2e2e2e background color:

Select a Rounded Rectangle Tool with a following settings:

And draw this shape:

Now apply to our shape the following effects:
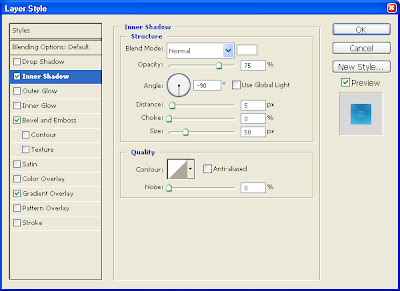
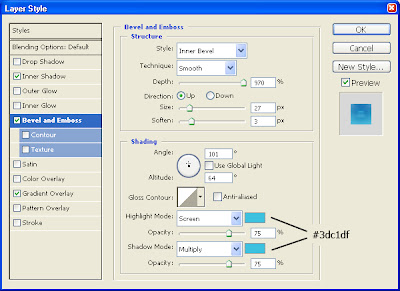
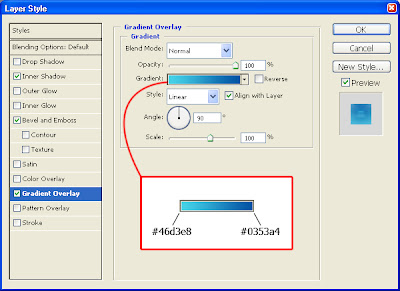
That is what you should get:

The next step is to select our shape by Ctrl+Click on a layer icon, select a gradient tool with a following settings, create a new layer (let’s name it “gradient_layer”) and fill it with a gradient as it is shown below:


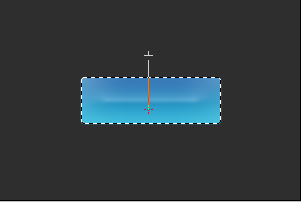
Press Ctrl+D to deselect. You must see something like that:

Now, select a Move Tool (V) and drag our “gradient_layer” to the middle of the shape:

Select the bottom of our “gradient_layer” and delete it. like here:
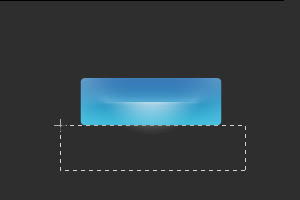

The button is ready. Now duplicate it, and apply to second button the following Gradient Overlay settings (other settings remain the same):
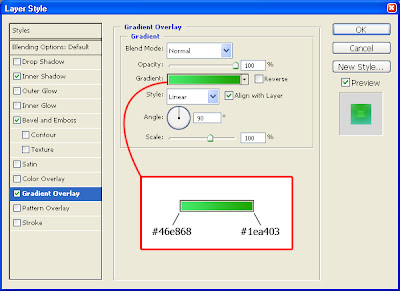
That’s how one of our buttons is going to look like when it is selected:

Now, write the menu entries. I did it with a white 22 pt Myriad Pro font and with the following effect:
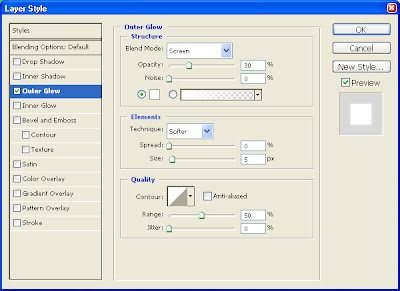
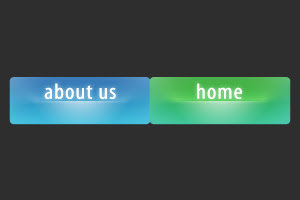
That is how our plastic menu can look like:


No comments:
Post a Comment