Wednesday, September 12, 2007

HTML Beginner Tutorial - Tags, Attributes, and Elements

Although the basics of HTML are plain text, we need a bit more to make it a valid HTML document.

Tags

The basic structure of an HTML document includes tags, which surround content and apply meaning to it.

Change your document so that it looks like this:


<html>
<body>
This is my first web page
body>
html>


Now save the document again, go back to the web browser and select "refresh" (which will reload the page).

The appearance of the page will not have changed at all, but the purpose of HTML is to apply meaning, not presentation, and this example has now defined some fundamental elements of a web page.

The first line on the top that starts ... is to let the browser know that you know what the hell you're doing. You may think that you don't actually know what you're doing yet, but it's important to stick this in. If you don't, browsers will switch into "quirks mode" and act in a very peculiar way. Don't worry about this just yet, you can learn more about "document types" in the HTML Advanced Tutorial if you really want to. For the moment, just remember to shove this line at the top of your web pages and you're laughin'.

To get back to the point, is the opening tag that kicks things off and tells the browser that everything between that and the closing tag is an HTML document. The stuff between and is the main content of the document that will appear in the browser window.

Closing tags

The and close their respective tags. ALL HTML tags should be closed. Although older versions of HTML lazily allowed some tags not to be closed, latest standards require all tags to be closed. This is a good habit to get into anyway.

Not all tags have closing tags like this () some tags, which do not wrap around content will close themselves. The line-break tag for example, looks like this :
. We will come across these examples later. All you need to remember is that all tags must be closed and most (those with content between them) are in the format of opening tag → content → closing tag.

Attributes

Tags can also have attributes, which are extra bits of information. Attributes appear inside the opening tag and their value is always inside quotation marks. They look something like Margarine. We will come across tags with attributes later.

Elements

Tags tend not to do much more than mark the beginning and end of an element. Elements are the bits that make up web pages. You would say, for example, that everything that is in-between and includes the and tags is the body element. As another example, whereas '</code>' and '<code>' are tags, 'Rumple Stiltskin' is a title element.

Original source: HTML Dog

HTML Beginner Tutorial - Getting Started

HTML Beginner Tutorial - Getting Started


Most of the stuff on the web is no different than the stuff on your computer - it's just a whole load of files sorted into a whole load of directories.

HTML files are nothing more than simple text files, so to start writing in HTML, you need nothing more than a simple text editor.


Notepad is a common text editor (on Windows this is usually found under the Programs > Accessories menu).

Type this in to your text editor:


This is my first web page

Now create a folder called 'html' in your C drive (or anywhere else you fancy) and save the file as "myfirstpage.html". It is important that the extension ".html" is specified - some text editors, such as Notepad, will automatically save it as ".txt" otherwise.

To look at HTML files, they don't even need to be on the web. Open a web browser such as Firefox or Internet Explorer and in the address bar, where you usually type web addresses, type in the location of the file you just saved (for example, "c:\html\myfirstpage.html") and hit return. Alternatively, go to the File menu of the browser, select Open, and browse for the file.

Pow. There it is. Your first web page. How exciting. And all it took was a few typed words.

We've said here to use a basic text-editor, such as Notepad, but you may be tempted to use a dedicated software program such as Macromedia Dreamweaver or Microsoft Frontpage.

You should be very careful when using these programs, especially if you are a beginner, because they often throw in unnecessary or non-standard code to "help" you.

If you're serious about learning HTML, you should read through a tutorial such as this first, so that you at least have a basic understanding of what is going on.

Software programs such as these will never give you the same control over a web page as coding by hand.

Original source: HTMLdog.com

Sunday, September 9, 2007

Plastic menu for a website - Adobe Photoshop Tutorial

Adobe Photoshop Tutorial

Learn how to create a plastic menu buttons for a website.


Let’s start with creating a new document, with 300px by 200px with a #2e2e2e background color:


Select a Rounded Rectangle Tool with a following settings:


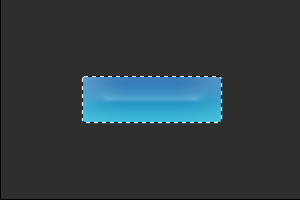
And draw this shape:


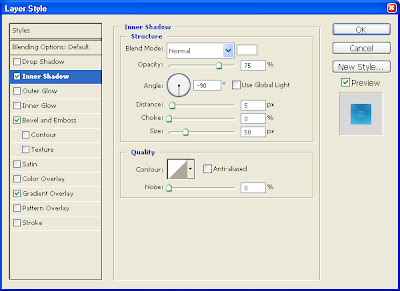
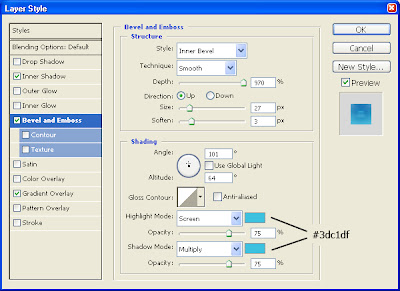
Now apply to our shape the following effects:


That is what you should get:


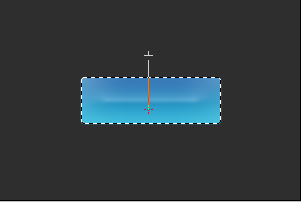
The next step is to select our shape by Ctrl+Click on a layer icon, select a gradient tool with a following settings, create a new layer (let’s name it “gradient_layer”) and fill it with a gradient as it is shown below:


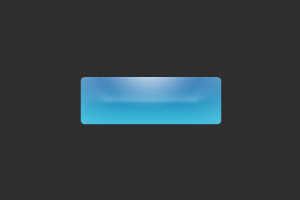
Press Ctrl+D to deselect. You must see something like that:


Now, select a Move Tool (V) and drag our “gradient_layer” to the middle of the shape:


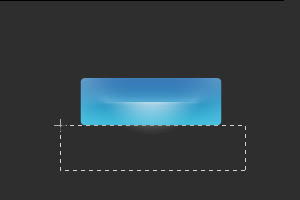
Select the bottom of our “gradient_layer” and delete it. like here:


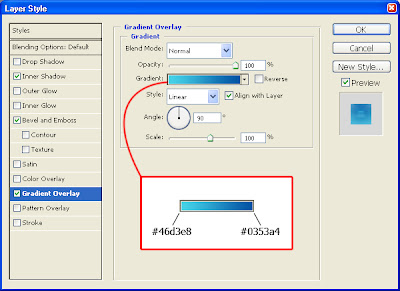
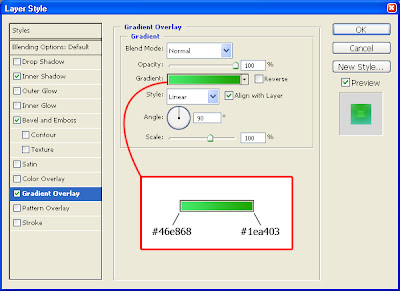
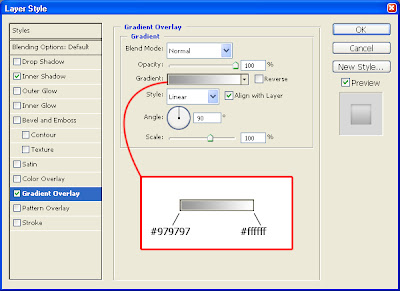
The button is ready. Now duplicate it, and apply to second button the following Gradient Overlay settings (other settings remain the same):


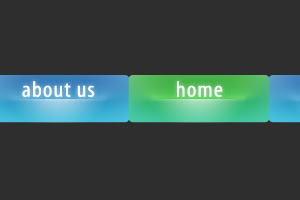
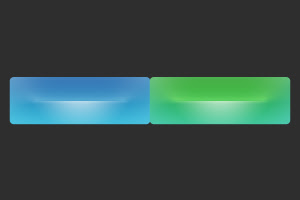
That’s how one of our buttons is going to look like when it is selected:


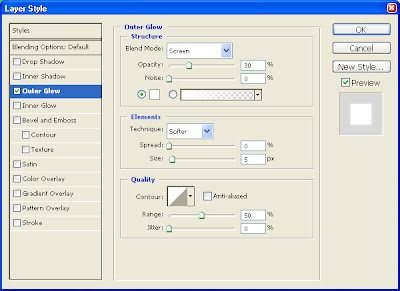
Now, write the menu entries. I did it with a white 22 pt Myriad Pro font and with the following effect:


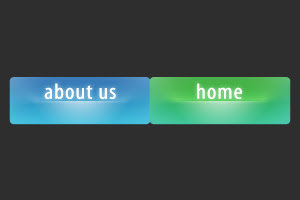
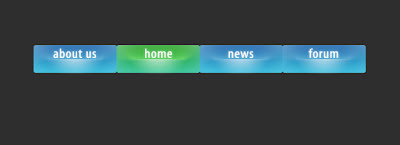
That is how our plastic menu can look like:

Mother's Day Greeting e-Card - Adobe Photoshop Tutorial

Adobe Photoshop Tutorial


In this tutorial you will learn to create a Mother's Day Greeting e-Card. (click on the image below, to see animation)


So, let’s start with creating a new document, with 500px by 400px with any background color. Unlock our background layer by double clicking on a layer icon, and pressing ok. And apply to it these settings:


Now, using a Custom Shape Tool, select a Heart shape, and draw it as it is shown below (color is not important):


Apply to the heart these settings:


That is what you should see:


Now select our Heart Layer by Ctrl+click on a layer icon, select Eliptical Marquee Tool (subtract from selection) and cut the bottom of a selection as it is shown below:


Create a new layer (name it Gradient_layer) and fill it with this gradient (After you fill it, pres Ctrl+D to deselect) :


Click on an icon Add Layer Mask in a layers palette, to ad a mask to our Gradient_layer.


Now drug a black to white gradient on our mask, as it is shown below:


The Heart is ready. Now, create two text layers (I’ve used EpsilonCTT font), one with a word “Happy” and another with words “Mother’s Day”. Arrange them as I did, and create warped text with the next settings to our two text layers respectively:


To “Happy” layer


To “Mother’s Day” layer


That is what we got by now:


Now, to our background layer apply this filter: Filter>Distort>Wave with this settings to create a curtain effect:


The next step is to create another heart as we created the main one, but this time it must be white color and smaller. Set the Opacity to 30% and clone it all around the main Heart, as it is shown below:


Name our small heart layers as 1, 2, 3 … 7, select all 7 layers in the layer palette and duplicate them. After you duplicated it, select one by one “copy” layers, and scale to 50% each of them (Ctrl+T), so our card has to be look like this:


So, if you don’t want to add some animation to your e-card, you can stop here. For those who want to animate – let’s go further.

Export our psd file to Adobe Image Ready by clicking on an icon in the Tools palette


In Adobe Image Ready, in Animation palette, duplicate current frame by pressing Duplicates Current Frame icon 6 times so that we get 7 frames.


Now, in each frame only one copy layer must be visible in this order: in 1 frame – “1 copy” layer must be visible, in 2 frame – “6 copy” layer must be visible, in 3 frame – “4 copy” layer must be visible, in 4 frame – “7 copy” layer must be visible, in 5 frame – “2 copy” layer must be visible, in 6 frame – “5 copy” layer must be visible, in 7 frame – “3 copy” layer must be visible.

After that, go to File>Save Optimized As> and save our animated e-card as a GIF file. That’s it! :)

Game Clan logotype - Adobe Photoshop Tutorial

Adobe Photoshop Tutorial

Learn to create a stylish Game Clan logo.


Let’s start with creating a new document, with 400
px by 200px with a #303030 background color.


Now, using a Ellipse Shape Tool, draw a circle (the color is not important, I used white)


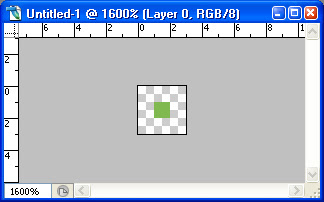
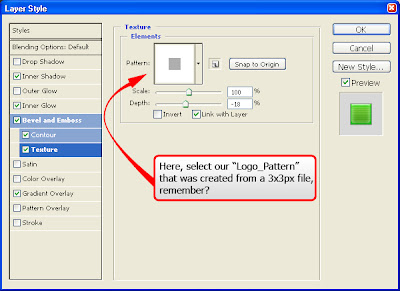
Create a new document 3x3 px, create a new layer in it, delete background, and using a Pen Tool (1px and #80b950 color) put a point right in the middle, as it is shown (the image is zoomed):


After that, go to Edit > Define Pattern, name it for example “Logo_Pattern” and click OK.

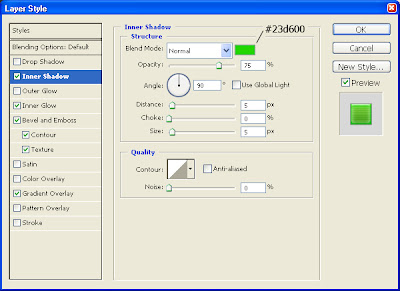
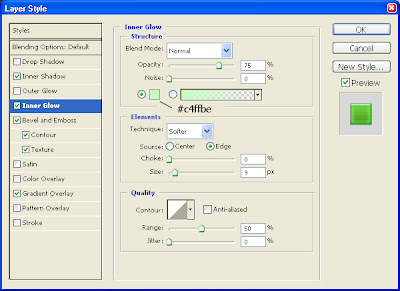
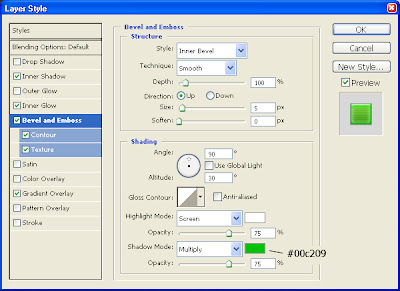
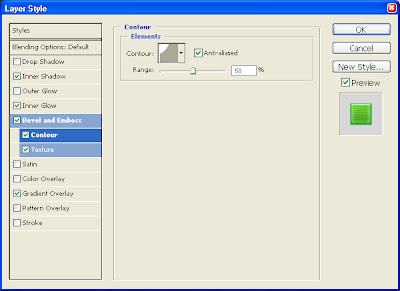
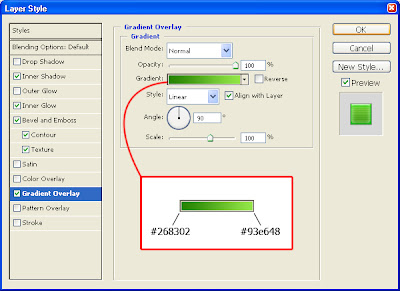
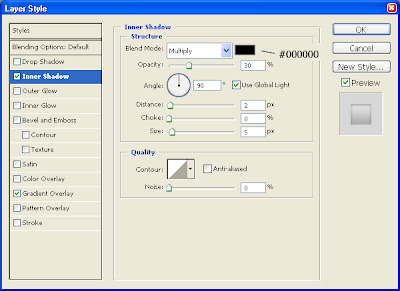
Now, lets return to our previous document with a circle. Apply to the circle the following settings:


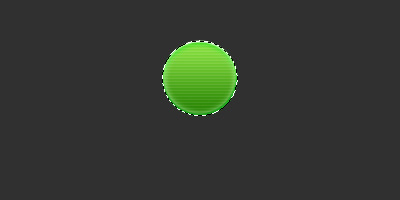
That is what we must get:


Now, select our circle by Ctrl+Click on the layer icon in the layer palette (F7):


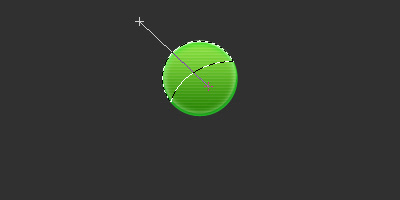
Using Elliptical Marquee Tool – Subtract from selection, cut the part of a selection as it is shown:


Draw this gradient (from white to transparency) as it is shown below:


Now using, a Pen Tool, create a Shape - triangle, and apply to it the same settings you had applied to the circle, but in the Emboss effect change Depth to 1 and Size to 0. That is how our triangle must look like:


Now duplicate that triangle, rotate it upside down, and place exactly as the first one, but at the bottom of our circle:


Select both triangle layers in the layer palette, duplicate them, and rotate by 90 degrees:


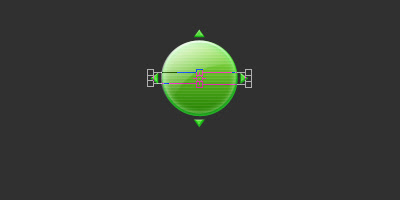
Now, select all 4 layers in the layer palette, duplicate them, and rotate as it is shown below:


After that, using a Custom Shape Tool, draw a Paw shape:


Apply to the Paw layer the following effects:


That is what you must get:


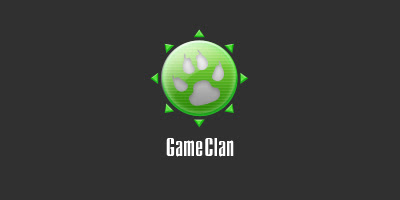
Our logotype is ready, now just add a clan name. (I did it with a white Compact font):